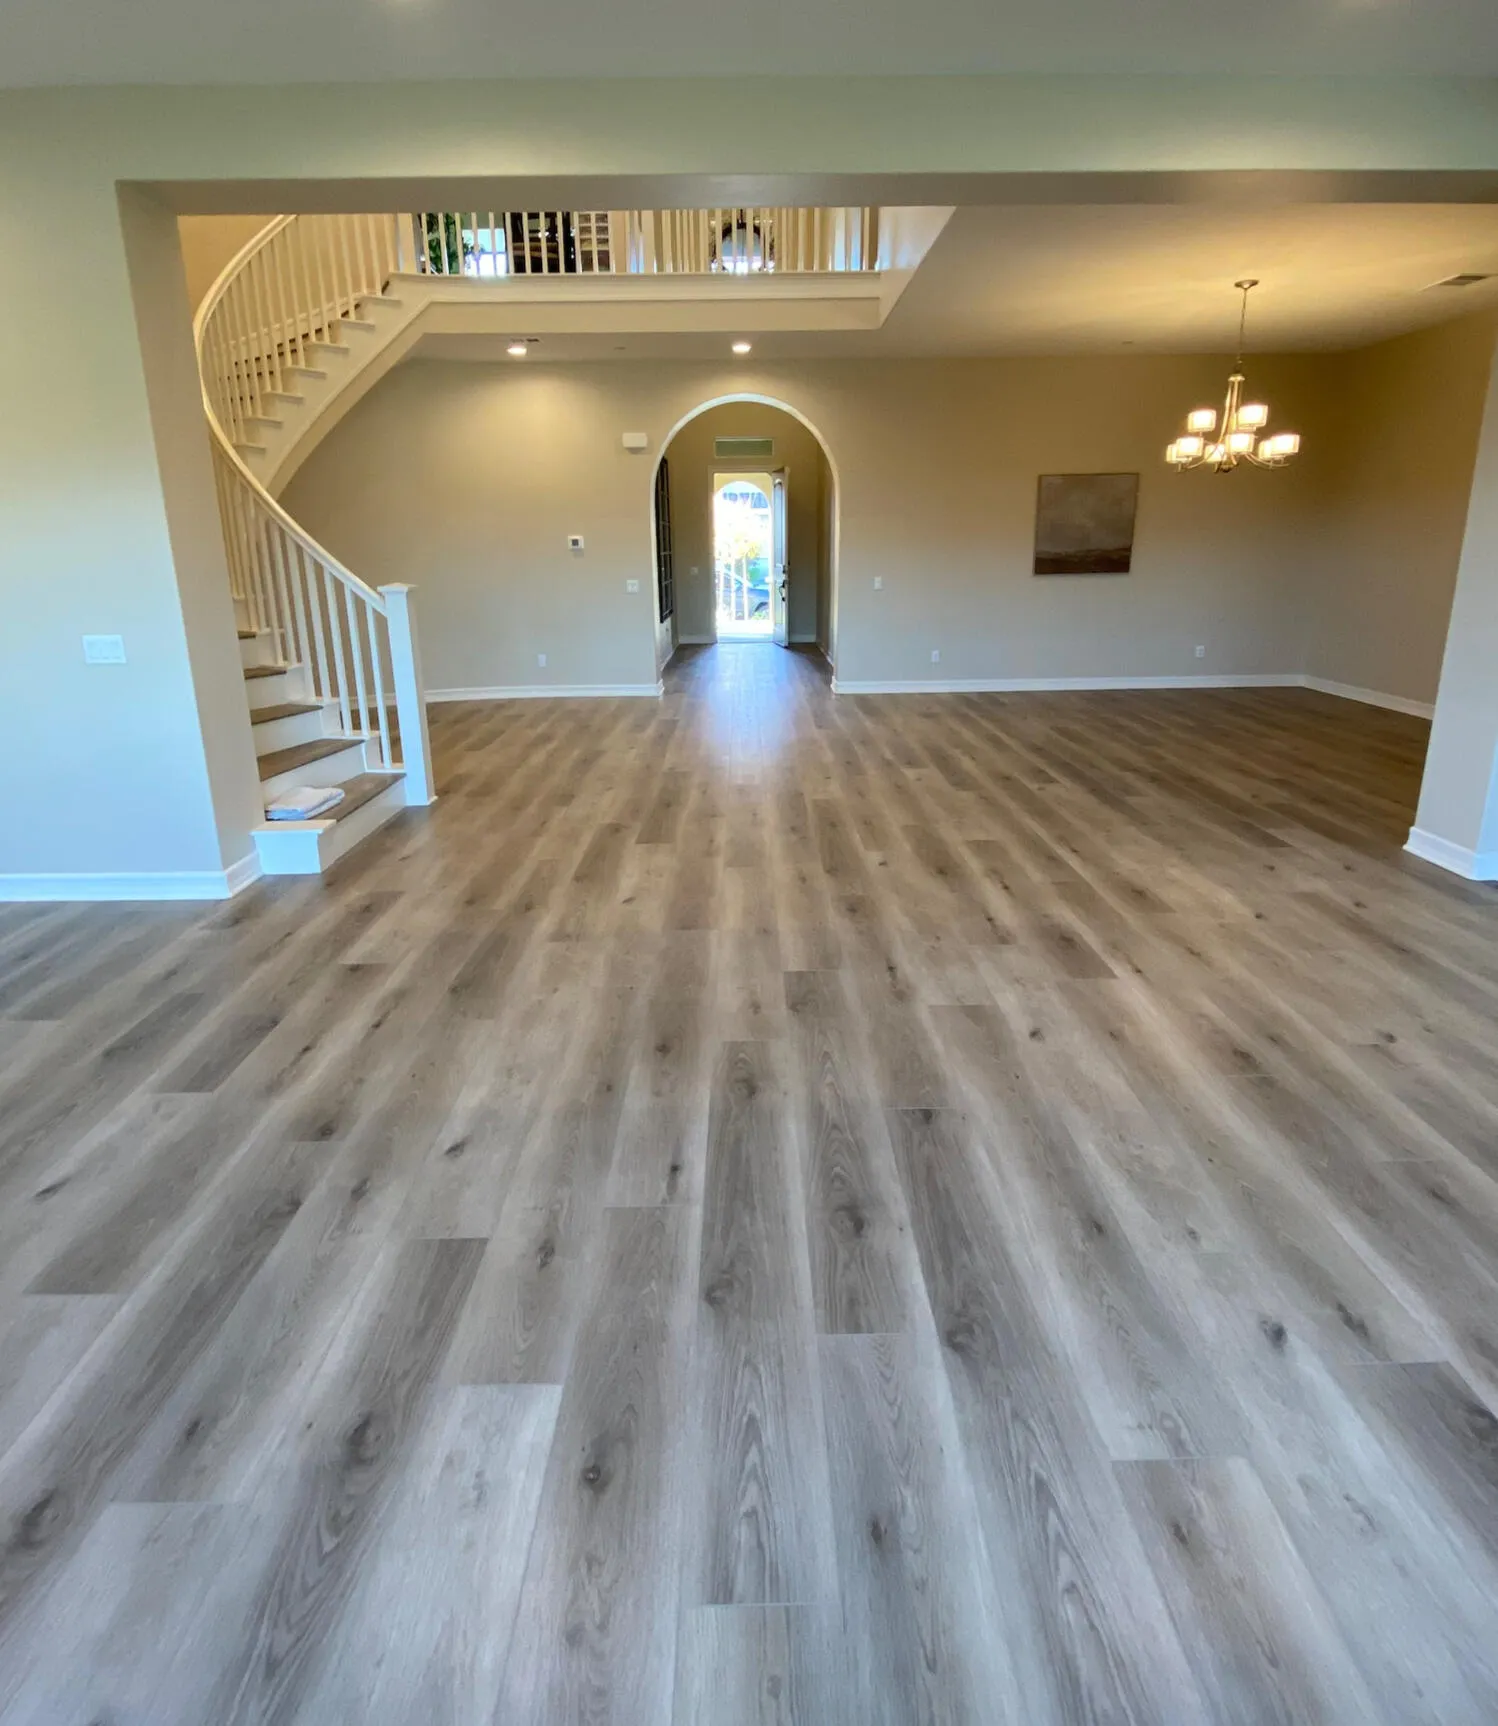
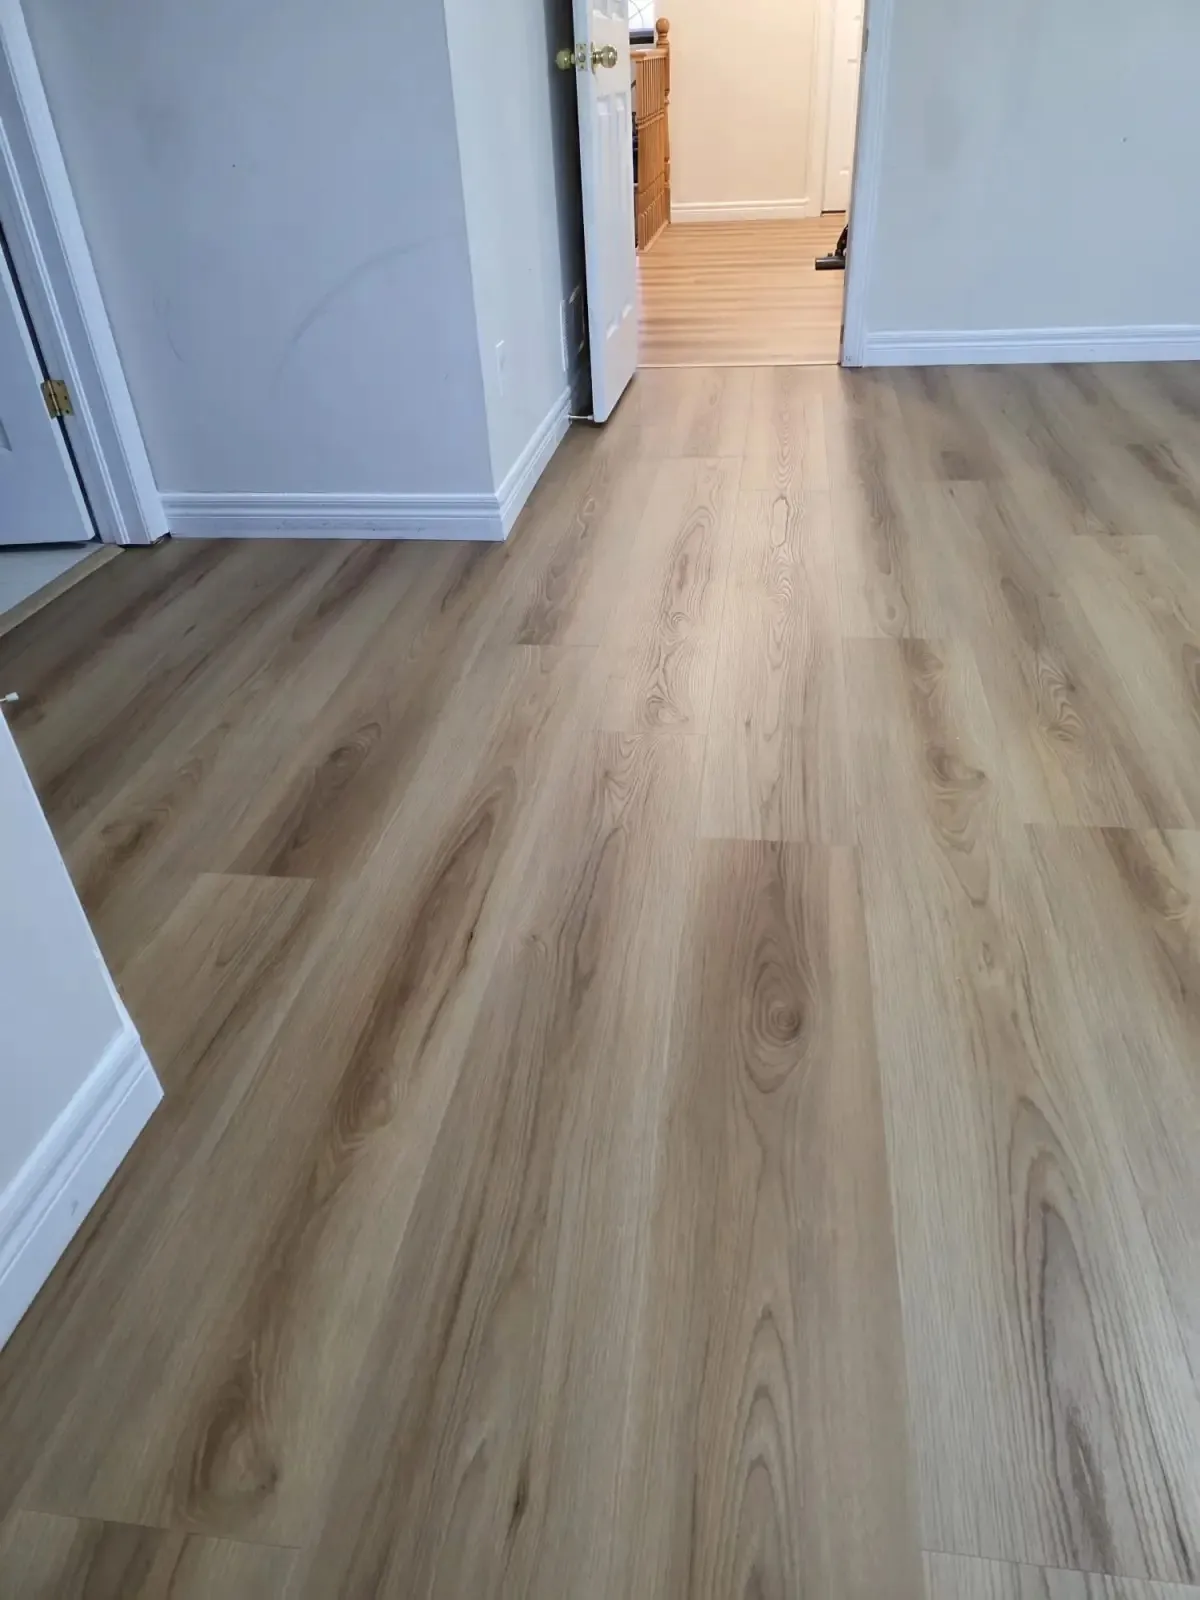
GAIA Impala is the luxury vinyl plank we install most in Oakland. Not because it's the cheapest — because the numbers on the box match the floor that ends up on the ground. The 20-mil wear layer actually lasts two decades. The click-lock actually clicks square. The planks actually look like wood from four feet away, not plastic pretending. This post is the whole story: what Impala is, how we install it, what goes wrong when someone skips steps, and what a real Oakland job costs.
What GAIA Impala actually is
GAIA is a flooring brand out of Georgia — their eTERRA SPC White Series is where Impala lives. The name Impala is a color (GA652313, if you want to look it up), but the construction underneath is what matters. SPC stands for stone polymer composite — the core is ground limestone dust bonded with PVC. That's what makes the plank rigid, dimensionally stable, and waterproof from the core outward.
On top of the SPC core sits a print layer (the wood-grain image), then a 20-mil clear wear layer, then the UV-cured EnduraPro top coat. Underneath is an IXPE foam underlayment that's glued to the plank from the factory — you don't install a separate underlayment. All of it comes together in a 6.5 mm plank that clicks together on its edges with GAIA's Uniclic locking system.
Impala — technical specifications
- Type
- Luxury vinyl plank (SPC)
- Thickness
- 6.5 mm
- Wear layer
- 20 mil (0.5 mm)
- Plank size
- 48" × 7.2"
- Coverage
- 19.23 sq ft / box
- Install system
- Uniclic click-lock
- Underlayment
- IXPE (attached)
- Surface coating
- UV-cured EnduraPro
- Waterproof
- Yes — SPC core
- Certifications
- FloorScore · UL Greenguard
A few of those numbers deserve a closer look. The 20-mil wear layer is the one that decides whether the floor survives a decade of dog nails and kitchen chairs. Anything under 12 mil is builder-grade and wears through. Twelve to 20 mil is the residential sweet spot. Impala's 20 mil is at the top of that range — commercial-adjacent.
The FloorScore + UL Greenguard certifications matter more than they look. They mean the plank has been tested for indoor air quality — low VOC emissions, no off-gassing that'll give you headaches for two weeks after install. Cheap LVP from overseas suppliers often fails this quietly; GAIA doesn't.
Why we install it — and not the cheaper alternative
There's a rack at every big-box store with LVP starting at $1.99/sq ft. Why don't we install that? Because we see it peel, gap, fade, and delaminate on every follow-up call from homeowners who picked it. The cost of ripping it out and reinstalling four years later erases any savings from buying cheap.
Real-world side-by-side
What you actually get
- 20-mil wear layer — 15–20 year residential life
- SPC rigid core — no soft spots, no squish
- Uniclic locks tight on first tap
- UV-cured EnduraPro resists sun fade
- IXPE underlayment attached — no surprise add-ons
- FloorScore + Greenguard certified — no off-gas headaches
What $1.99/sq ft buys
- 6–12 mil wear layer — noticeable wear in 3–5 years
- WPC or hollow core — dents under furniture legs
- Loose click-locks that pop apart under stress
- No UV coating — fades near windows in 2 years
- Separate underlayment you buy and install
- Untested VOCs — that chemical smell for weeks
We'd rather quote one honest job than come back in four years to redo a cheap one.
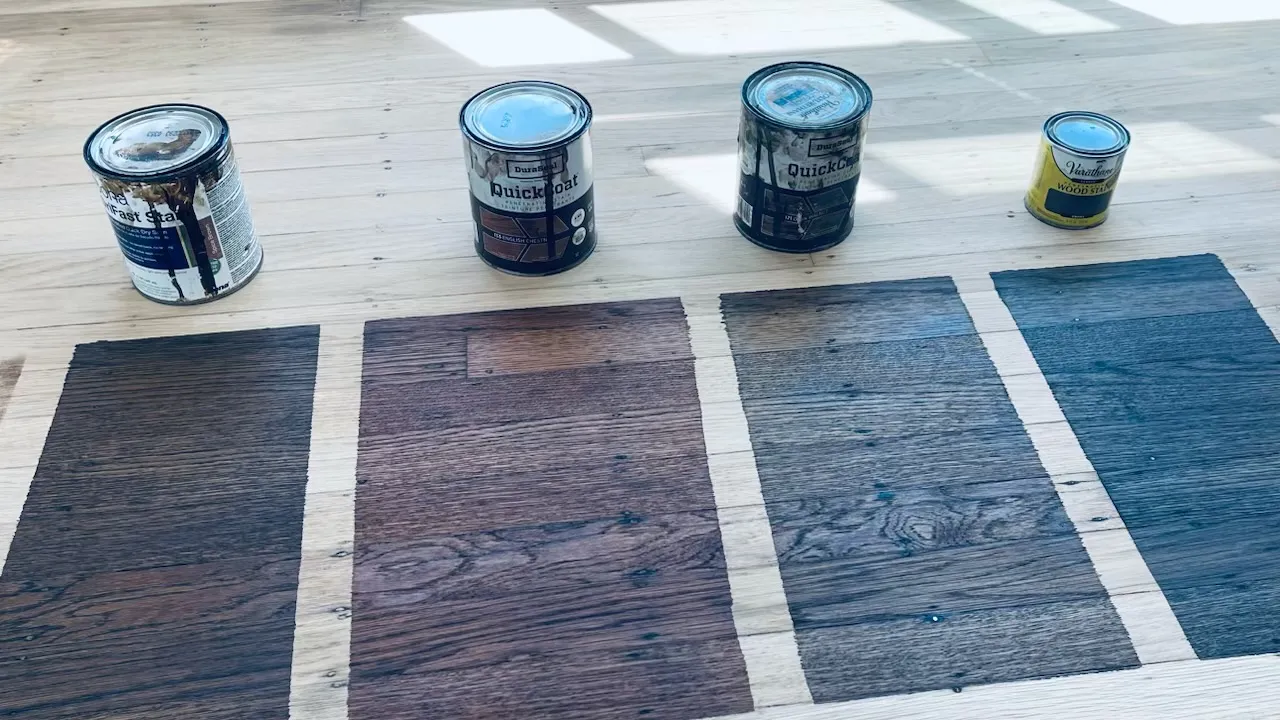
The other reason Impala specifically: it looks good. GAIA's White Series colors (Alpaca, Sand Dollar, Elk Horn, American Hickory, American Walnut and the rest) read like real wood in the actual lighting of Oakland homes — morning light from the east, afternoon warmth from the west windows, the gray fog diffusion that washes everything out. We keep samples on the truck for every walkthrough.
How the install works — day by day
Most whole-house Impala installs in Oakland take three to five days. Here's the actual sequence — not a sales brochure, what we do on site:
- 1
Walkthrough and moisture check
Day 1 · morningWe arrive, walk every room, and check subfloor moisture — especially on slab-on-grade Oakland homes and anything near a kitchen or bathroom. Moisture readings drive what underlayment we need (if any) and whether we have to let the slab dry before install.
- 2
Demo and haul-away
Day 1 · afternoonOld carpet, laminate, or vinyl comes up. Tack strips get pulled. Staples and nails get yanked one by one — skipping this step is why some installs bubble up months later. All old material goes to the truck and off the property.
- 3
Subfloor flattening
Day 2 · morningUniclic click-lock floats over the subfloor, so any dip more than an eighth of an inch over 10 feet has to come out. Self-leveling compound goes in the valleys, belt sanders knock down the high spots on wood subfloors. On slabs we check for cracks and seal them.
- 4
First planks and the starter wall
Day 2 · afternoonThe starter wall sets the tone for the whole room — every plank from there gets its angle from this row. We dry-lay the first few rows, stagger the joints at least 8 inches, and lock the tongue-and-groove with taps from a rubber mallet and tapping block.
- 5
Fill the field
Day 3Plank after plank, wall to wall. End cuts made with a sharp utility knife scored and snapped, or jigsawed for door frames, vents, and tricky corners. Expansion gap left at every wall (3/8") — LVP is plastic, it will expand and contract with room temperature.
- 6
Transitions and thresholds
Day 3 · endWhere Impala meets tile, carpet, or a different floor elevation, we install the right transition: T-molding for equal heights, reducer strips for step-down, flush reducer for millimeter-clean looks. This is where amateur installs fail — planks get locked into fixed thresholds, then crack when the floor tries to expand.
- 7
Trim and final clean
Day 4Baseboards go back on (or new ones if yours came out rough). Shoe molding where needed. Final vacuum and walk-through — you get the floor back clean, with leftover planks labeled and stored for future repair.
Plank after plank, wall to wall — the job only looks casual if the crew knows what they're doing.
What a real Oakland project actually costs
The numbers in the cost calculator are accurate, but they're averaged. Here's a more concrete breakdown — a real 1,000 sq ft single-level Oakland home, main living areas plus the hallway, Impala throughout:
1,000 sq ft Impala install — typical Oakland project
- Impala material $3 – $4/sq ftDepending on color + quantity. Full boxes beat partial boxes.
- Install labor $5 – $7/sq ftPrep, install, transitions, trim — quality Oakland crew, not corner-cutters
- Subfloor flattening $1–3/sq ftOnly when needed — slab homes usually skip it
- Demo of existing floor $1–2/sq ftCarpet is cheap to rip; glued laminate is the worst
That total reflects premium material plus our full install — the subfloor check, the right transitions, Uniclic seated correctly, and a clean finish you won't regret. A cheaper quote almost always means a crew that installs 2,000 sq ft a day, skips subfloor flattening, and doesn't come back when the planks pop apart eighteen months later.
Subfloor — what we actually do before a single plank locks in
Subfloor prep is where installs succeed or fail, and it's the one section most homeowners never see mentioned in a quote. Uniclic click-lock floats on top of whatever you put it on. If the subfloor isn't flat to 3/16" over 10 feet, the planks bridge the dips — and every step you take flexes the locking joint. Do that 10,000 times and the joint fatigues open.
On wood-framed subfloors (most Oakland Craftsmen, Victorians, and mid-century homes), we walk the floor checking for squeaks and soft spots, pull up anything loose, screw down subfloor sheets at every joist if nails are popping, and belt-sand high spots. Low spots get self-leveling compound.
On slab-on-grade homes (common in Oakland's flatlands, Alameda, and newer Piedmont builds), we check slab moisture with a calcium-chloride or meter-based reading. Impala's SPC core is waterproof, but if the slab is wicking moisture constantly, mold can grow on the bottom of the IXPE underlayment over time. Any visible slab cracks get sealed. Expansion joints in the slab get respected with expansion gaps in the finished floor.
Transitions — where most installs quietly fail
A transition is any spot where Impala meets something else: tile, carpet, a different floor elevation, an exterior door threshold. There are four main transition types and picking the wrong one is the single most common amateur-install mistake we see when we're called for repair work.
- T-molding — Used where Impala meets another hard floor at the same elevation (tile to LVP, LVP to hardwood). Leaves expansion gap under the cap so both floors can move independently. Required at every doorway between rooms.
- Reducer strip — Transitions from Impala down to a lower floor (LVP to tile-on-thinset, LVP to old linoleum). The ramp prevents stubbed toes and reduces stress on the plank edge.
- Flush reducer — A slimmer profile for the same use case when you want a cleaner look. Requires tighter tolerances and more patience at install.
- End cap / threshold — Used at exterior doors where the Impala simply ends. Sealed against weather on the outside edge.
The critical detail for all four: Impala has to float. If a transition is nailed down into a plank (we see this all the time on DIY and cheap-installer jobs), the plank is pinned. The floor will expand and contract with Bay Area seasonal humidity swings — and the pinned plank will crack open somewhere else. The transition nails or glues only to the subfloor, never through a plank.
When Impala isn't the right answer
We install Impala most of the time — but not every time. If you have original old-growth oak or fir hardwood hidden under carpet (very common in pre-1950 East Bay homes), refinishing it costs less and preserves the character that makes the house worth more. LVP is beautiful, but it's still a plastic product; a refinished 100-year-old floor has a depth that Impala can't fake.
When to pick hardwood refinishing instead
Go LVP when...
- Existing floor is carpet, laminate, or damaged LVP
- Moisture exposure is a real concern (kitchen, bath, basement)
- Pets with nails, kids with toys, heavy daily use
- Budget needs to cover more square footage
- You want consistent color wall-to-wall
Refinish instead when...
- Original hardwood is intact under carpet
- Floor is structurally sound with 1/4"+ of wood left
- Character of aged wood matters to the home
- Budget per sq ft is $3–5 vs $8–11
- Future refinishability is worth keeping
We walk through both options at every quote and tell you honestly which one your floor is asking for.
Frequently asked questions
Is GAIA Impala waterproof enough for kitchens and bathrooms?
Yes. The SPC core does not absorb water, and the attached IXPE underlayment is antimicrobial. We install it in kitchens and bathrooms regularly, including under dishwashers and icemakers. The only caveat is standing water for days — nothing floats forever. If you have a leak that soaks under the floor for a week, that's a different problem.
Can Impala be installed over my existing floor?
Sometimes. Impala can float over hard, flat surfaces — tile, sheet vinyl, or sealed concrete. It cannot go over carpet, soft underlayment, or anything uneven. We always measure flatness to 3/16" over 10 feet before deciding. When in doubt, demo is the honest answer.
How long does a GAIA Impala install take?
A single room takes one day. A whole-house install of 1,500–2,000 sq ft takes three to five days depending on subfloor prep and transition count. Slab homes with level concrete move faster than wood-framed homes that need flattening.
Will Impala fade near big windows?
The UV-cured EnduraPro coating is specifically designed to resist sun fading, and we install Impala in south-facing Oakland sunrooms and picture-window living rooms without concern. The cheaper LVPs without UV coating do fade visibly in two to five years near direct sun — which is exactly why we don't install them.
Ready to see samples?
Every Impala color reads differently under your specific lighting. What looks warm on the GAIA website can read cool in a west-facing room with afternoon fog rolling in. We bring the full sample book on every walkthrough and lay planks on the floor you're replacing so you can see them in context. No obligation, no hard sell — just a measure, a quote, and honest advice on whether Impala is the right call or if you should refinish instead.